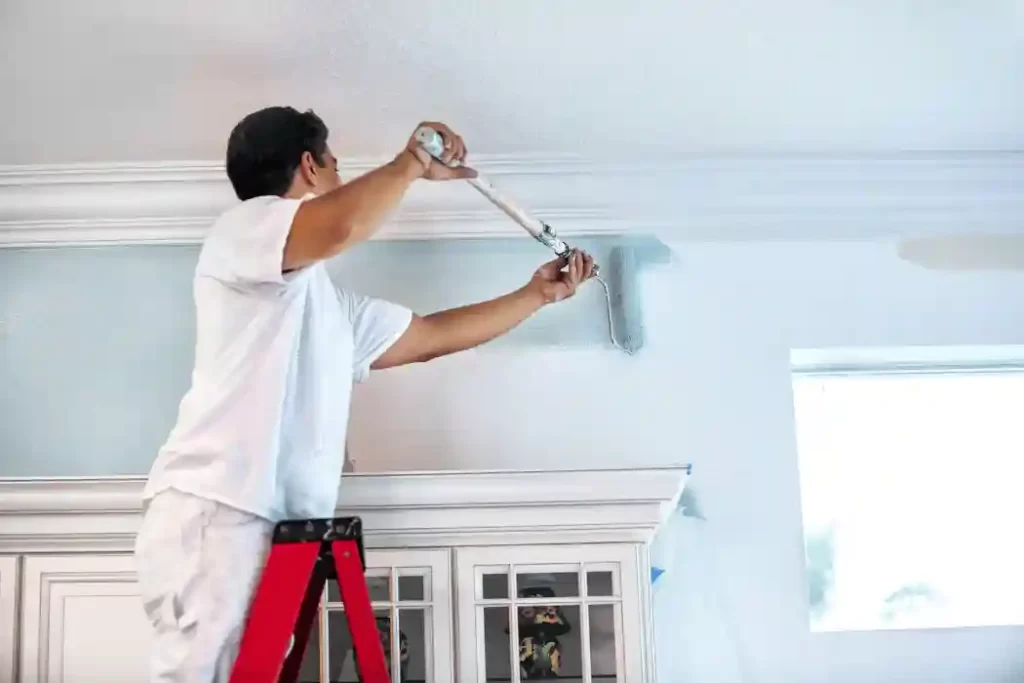
Painting your home’s ceilings can be a daunting task, especially if you’re not sure where to start. However, with a little bit of knowledge and the right tools, you can transform your ceiling from a bland and boring surface into a beautiful and eye-catching feature. In this article, we’ll explore the dos and don’ts of painting your home’s ceilings to help you get started on your next home improvement project.
Do: Choose the Right Paint For Home’s Ceilings
Choosing the right paint for your ceiling is essential for a successful painting project. You’ll want to select a paint that is specifically designed for ceilings, as these paints are formulated to be thicker and to adhere better to the surface. They are also designed to dry more slowly, which allows you to avoid drips and runs.
When choosing a color, you’ll want to consider the room’s décor and the mood you want to create. Lighter colors can make a room feel more spacious and airy, while darker colors can create a cozy and intimate atmosphere.
Don’t: Forget to Prepare
Proper preparation is key to a successful painting project, and this is especially true when it comes to painting ceilings. Before you begin painting, you’ll want to protect your floors and furniture by covering them with drop cloths or plastic sheeting.
You’ll also want to prepare the ceiling surface by cleaning it thoroughly to remove any dirt, dust, or grease. If the surface has any cracks or holes, you’ll need to patch them with spackling or joint compound and sand them smooth before painting. Elevate your home renovation project by giving attention to your ceilings. Transform them into stunning focal points with expert painting techniques and innovative designs.

Do: Use the Right Tools
Using the right tools is crucial for a successful painting project. For painting ceilings, you’ll want to use a roller with an extension pole to help you reach the ceiling without having to stand on a ladder. You’ll also want to use a brush to cut in around the edges and in tight spaces.
When selecting a roller, choose one with a nap that is appropriate for the surface you’re painting. For smooth ceilings, a short nap roller is best, while textured ceilings will require a longer nap roller.
Don’t: Neglect Safety
Painting ceilings can be dangerous, so it’s essential to take safety precautions before you begin. Make sure you have a sturdy ladder that can reach the ceiling without tipping over. You’ll also want to wear safety glasses and a dust mask to protect your eyes and lungs from dust and paint fumes.
If you’re painting a high ceiling, consider using a scaffold instead of a ladder. A scaffold will provide a larger work surface and will be more stable than a ladder.
Do: Paint in the Right Order
When painting a room, it’s essential to paint in the right order to avoid drips and smudges. When painting ceilings, you’ll want to start with the edges and work your way inward. Use a brush to cut in around the edges, and then use a roller to paint the rest of the ceiling.
When painting with a roller, you’ll want to work in small sections, rolling the paint on in a “W” pattern. Make sure to overlap your strokes to avoid leaving gaps. Once you’ve painted the entire ceiling, allow the paint to dry before applying a second coat if necessary.
Don’t: Rush the Job
Painting a ceiling can be a time-consuming task, but it’s important not to rush the job. Rushing can lead to mistakes, such as drips and uneven coverage, that will require more time and effort to fix later.
Take your time and work in small sections, allowing each section to dry before moving on to the next. This will help ensure a smooth and even finish.
Do: Test the Color
Before painting the entire ceiling, it’s a good idea to test the color in a small area to make sure you’re happy with the result. This can help you avoid any unpleasant surprises once the entire ceiling is painted.
To test the color, paint a small area on the ceiling and let it dry completely. Once the paint is dry, observe the color in different lighting conditions, such as natural daylight and artificial light. This can help you determine if the color is right for the room and if it creates the mood you’re looking for.
Don’t: Neglect the Finish
The finish of the paint can make a big difference in the final appearance of your ceiling. Ceilings are typically painted with a flat or matte finish, which helps to hide imperfections and creates a smooth, even surface.
However, if you want to add some visual interest to your ceiling, you can choose a different finish, such as a satin or gloss finish. Keep in mind that higher gloss finishes will reflect more light, which can make imperfections more noticeable.
Do: Consider Hiring a Professional
Painting a ceiling can be a challenging task, and if you’re not comfortable with the process, it’s okay to seek professional help. Hiring a professional painter can ensure that the job is done correctly and safely, and can save you time and stress in the long run.
When hiring a professional, be sure to do your research and choose a reputable company with experience in painting ceilings. Ask for references and check online reviews to make sure you’re hiring a trustworthy and skilled painter.
Conclusion
Painting your home’s ceilings can be a rewarding and satisfying project, but it’s important to approach it with the right knowledge and tools. By following these dos and don’ts, you can ensure a successful and safe painting project that will enhance the beauty and comfort of your home.

