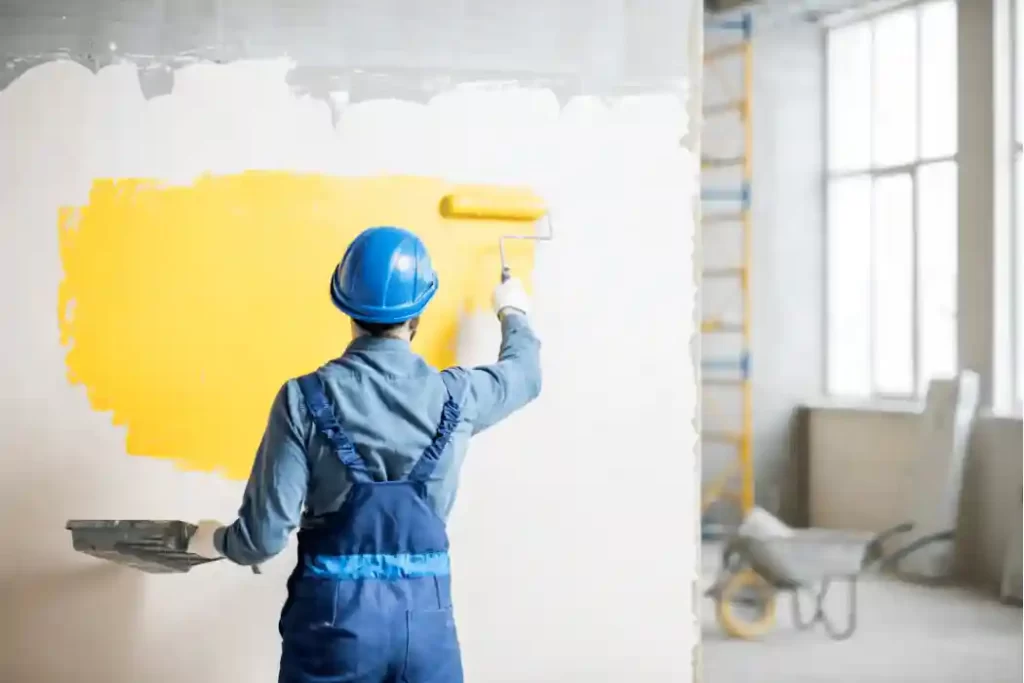
Painting your home can be a daunting task, especially if you are a beginner. However, with the right tools, preparation, and technique, anyone can achieve a professional-looking paint job. In this guide, we will walk you through the step-by-step process of painting your home, from selecting the right paint to finishing touches.
Step 1: Choose the Right Paint
The first step in painting your home is selecting the right paint. There are many different types of paint available, including oil-based, water-based, and latex. Latex paint is the most commonly used paint for home interior and exterior painting projects. It is easy to clean up with soap and water and dries quickly. When selecting paint, be sure to choose a color that complements your home’s decor and style.
Step 2: Prepare the Surface
Before you begin painting, you need to prepare the surface. This means cleaning the walls or surfaces you want to paint and removing any dirt, dust, or debris. Use a mild detergent and warm water to wash the surfaces thoroughly. Allow the surfaces to dry completely before you begin painting. You should also remove any peeling paint or loose plaster, sand rough surfaces, and fill any cracks or holes with spackle. Painting is an essential element of any home renovation, allowing you to rejuvenate your space and create a personalized atmosphere that reflects your style.

Step 3: Gather the Right Tools
To paint your home, you will need a variety of tools, including:
- Paintbrushes
- Rollers
- Paint trays
- Drop cloths
- Painter’s tape
- Sandpaper
- Putty knife
When purchasing brushes and rollers, be sure to choose high-quality tools to achieve a professional-looking finish.
Step 4: Protect Your Floors and Furniture
Before you start painting, it’s essential to protect your floors and furniture from paint drips and spills. Cover your floors with drop cloths, and move any furniture out of the room or cover it with plastic.
Step 5: Prime the Surface
If you are painting a surface that has never been painted before, or if you are making a drastic color change, you should prime the surface first. Priming helps the paint adhere better to the surface and provides a more even finish. Apply the primer with a brush or roller and allow it to dry completely before you begin painting.
Step 6: Paint the Surface
Now it’s time to start painting. Begin by cutting in, or painting the edges and corners of the surface with a brush. Use a steady hand and a small brush to paint along the edges of the surface. Then, use a roller to paint the larger areas. Roll the paint onto the surface in a “W” shape, and then fill in the spaces with long, even strokes. Be sure to apply the paint evenly and not too thickly, as this can cause drips and an uneven finish.
Step 7: Let the Paint Dry
Once you have finished painting, allow the paint to dry completely before applying a second coat. This typically takes around four to six hours, but it’s best to wait a full 24 hours before applying a second coat.
Step 8: Apply a Second Coat
After the first coat of paint has dried completely, it’s time to apply a second coat. Follow the same process as you did for the first coat, cutting in with a brush and then rolling on the paint. Be sure to apply the paint evenly and not too thickly.
Step 9: Finish the Job
Once the second coat of paint has dried, remove any painter’s tape you may have used and clean up any drips or spills. You can touch up any missed spots with a brush or roller. Finally, allow the paint to dry completely before moving furniture back into the room.
Conclusion
Painting your home can be a rewarding experience, and with the right tools and technique, you can achieve a professional-looking paint job. Remember to choose the right paint color and type, prepare the surface thoroughly, and protect your floors and furniture before you begin painting. Always use high-quality tools and apply the paint evenly, allowing each coat to dry completely before applying the next. With patience and attention to detail, you can transform your home with a fresh coat of paint.

