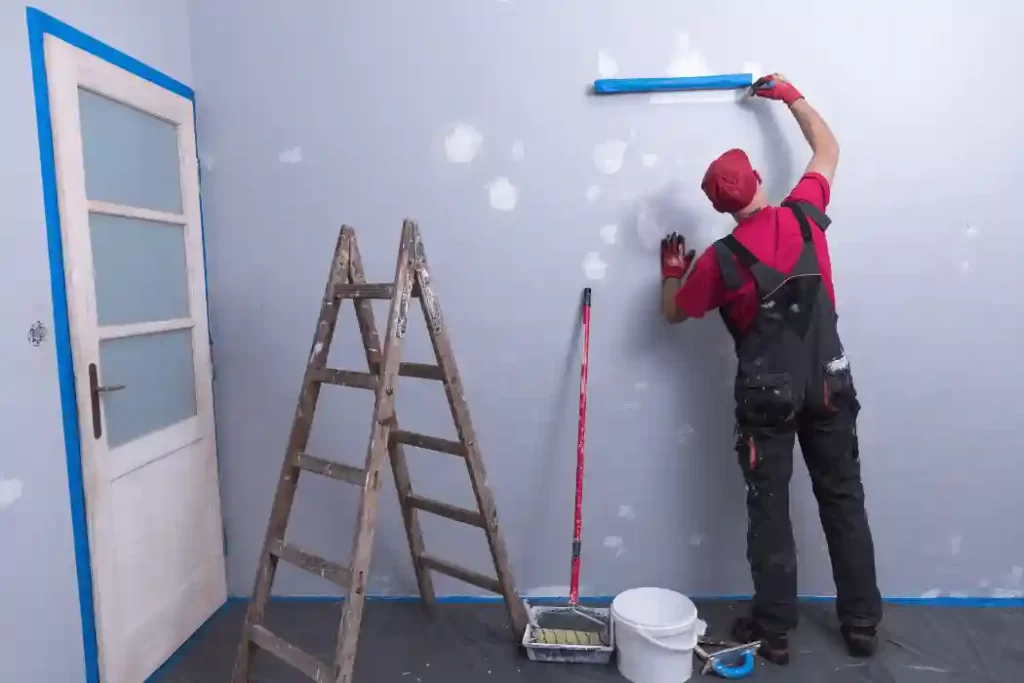
Painting is one of the most popular DIY projects that homeowners undertake. It’s an easy and affordable way to give a room a fresh new look without breaking the bank. However, while painting may seem like a straightforward task, there are a few tricks that can help you achieve a professional-looking finish. In this article, we’ll share some DIY painting tips that will help you achieve a professional look.
Preparation is Key
The key to a successful painting project is preparation. The first step in preparing a room for painting is to clear the space of all furniture, fixtures, and décor. Cover any remaining furniture and fixtures with drop cloths to protect them from paint splatters.
Next, clean the walls thoroughly to remove any dirt, grease, or grime. Use a solution of water and mild detergent to clean the walls, and rinse them with clean water. Once the walls are clean, allow them to dry completely before starting to paint.
Finally, inspect the walls for any cracks, holes, or other imperfections. Fill any holes or cracks with spackle, and sand down any rough spots or bumps to create a smooth surface for painting.
Invest in Quality Tools and Materials
One of the biggest mistakes that DIY painters make is skimping on quality tools and materials. While it may be tempting to go for the cheapest options available, investing in high-quality tools and materials will make a big difference in the final outcome of your project.
When it comes to tools, invest in high-quality paint brushes, rollers, and trays. Look for brushes and rollers with synthetic bristles, as they tend to hold and release paint better than natural bristles. For paint trays, look for durable plastic or metal trays that can be easily cleaned and reused.
When it comes to materials, choose high-quality paints and primers. Look for paints with a high pigment concentration, as they tend to cover better and require fewer coats. Choose a paint and primer that are compatible with the surface you’ll be painting, whether it’s drywall, plaster, or wood.
Elevate your home renovation project by revitalizing the exterior with expert painting services, adding a touch of elegance and rejuvenating your home’s overall appeal.

Use a Primer
Using a primer before painting can make a big difference in the final outcome of your project. A primer creates a smooth, even surface for the paint to adhere to, and can help cover up any imperfections in the walls.
When choosing a primer, look for one that is compatible with the surface you’ll be painting. For example, if you’re painting over a dark color, choose a primer that is specifically designed to cover dark colors.
Cut in Before Rolling
Cutting in refers to the process of painting the edges of a room, such as the areas around windows, doors, and corners, before rolling the main walls. This technique helps create a neat, clean edge between the walls and the trim.
To cut in, use a high-quality angled brush and carefully paint along the edges of the room. Be sure to use a steady hand and take your time to ensure a neat, precise line.
Roll in a W Pattern
When it comes to rolling the main walls, using a W pattern can help you achieve a smooth, even finish. To roll in a W pattern, start by painting a wide stripe down the middle of the wall. Then, paint another stripe on either side of the first stripe, making a W shape.
Once you’ve painted the W shape, fill in the spaces between the stripes with paint, working in small sections at a time. Be sure to roll the paint on evenly and avoid overloading the roller with too much paint, as this can create drips and uneven coverage.
Use Multiple Coats
While it may be tempting to try to cover the walls in one coat, using multiple coats of paint can help you achieve a more professional-looking finish. Multiple coats
help to build up a more even, consistent color, and can help cover any spots or imperfections that may have been missed in earlier coats.
When painting, wait for the first coat to dry completely before applying a second coat. This will help prevent the paint from becoming too thick or tacky, which can cause the paint to peel or crack over time. Typically, two to three coats of paint are needed to achieve a professional-looking finish.
Pay Attention to Details
When painting a room, it’s important to pay attention to the small details that can make a big difference in the final outcome of your project. This includes things like painting around switch plates, outlet covers, and light fixtures, as well as ensuring that edges and corners are properly covered.
Take the time to carefully remove any tape or coverings from the room once the paint has dried, as leaving them on for too long can cause the paint to peel or chip. Use a small brush or roller to touch up any areas that may have been missed or need additional coverage.
Clean Up Properly
Once your painting project is complete, it’s important to properly clean up your tools and materials. Clean your brushes and rollers with soap and water or the recommended cleaning solution for the type of paint you used.
Dispose of any used paint cans and materials properly, according to your local regulations. Allow the room to dry completely before moving furniture and décor back into the space.
Conclusion
With a little preparation, the right tools and materials, and attention to detail, DIY painting can produce a professional-looking finish. Whether you’re painting a small accent wall or an entire room, taking the time to properly prepare, use high-quality tools and materials, and pay attention to the small details can make all the difference in achieving a successful painting project. Happy painting!

